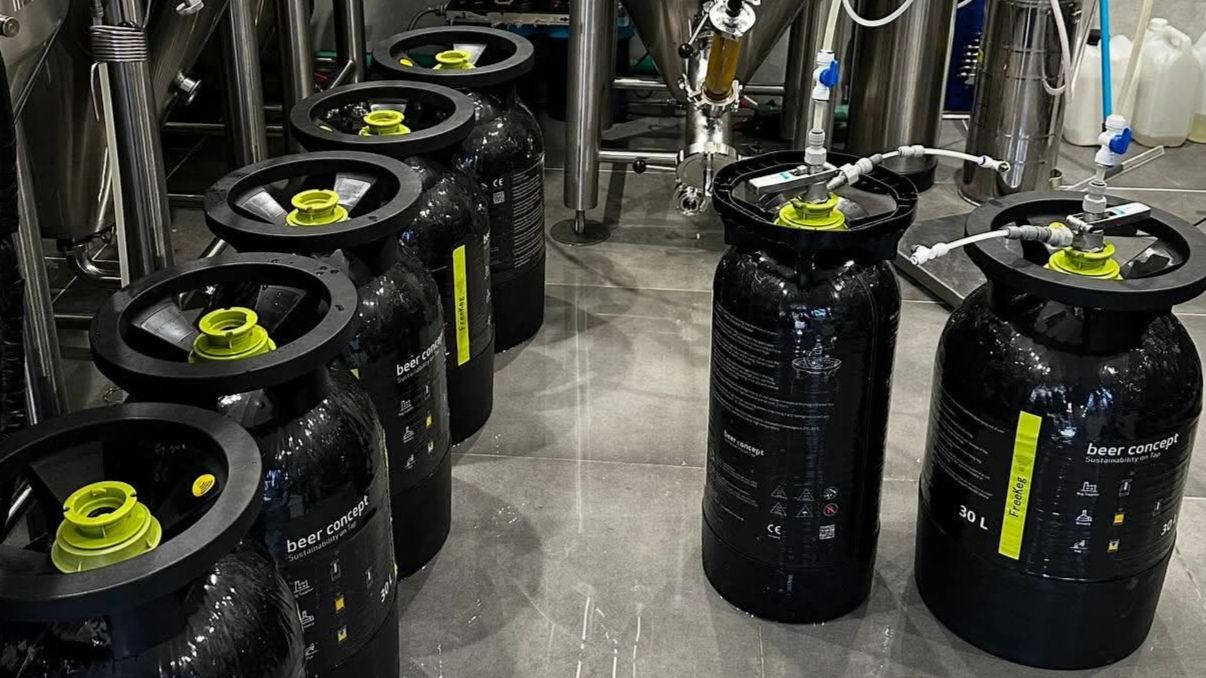
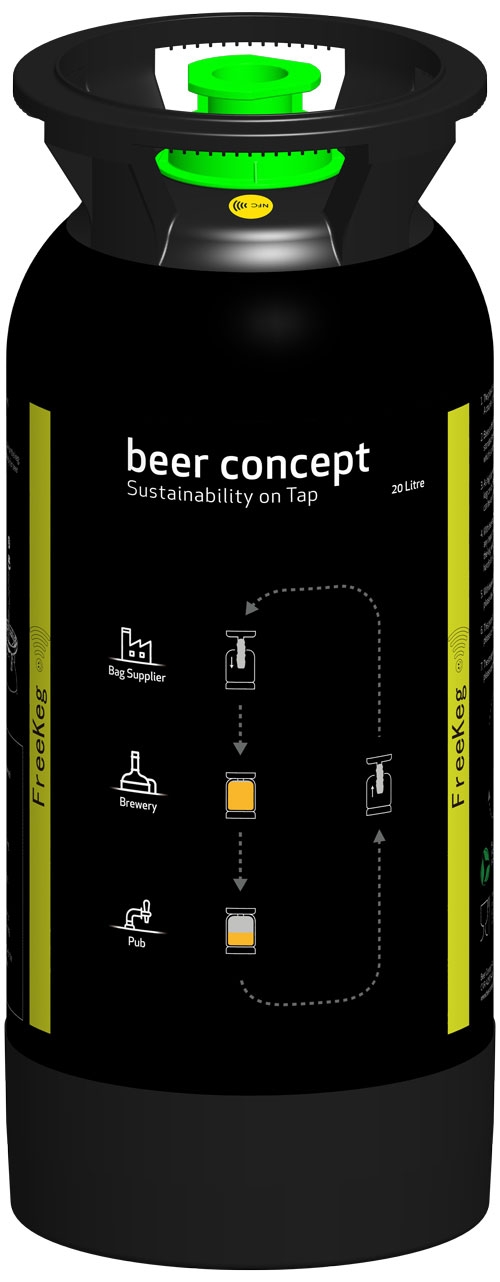

FreeKeg
Meet ‘FreeKeg’, where functionality, quality, and price come together to meet market demands. FreeKeg offers economic benefits for both export and local recycling markets.
The Freekeg is fitted with a replaceable FreeKeg Liner, available with a S or K coupler.
-
Product description
BENEFITS
- 75% reduction in plastic waste compared with single-use kegs in the market.
- FreeKeg is designed for maximum safety under pressure.
- The built-in overpressure valve on the liquid slide eliminates the risk of explosions.
- Inclusion of fiberglass composite material which is strong, flexible and in rare cases of failure, pressure is gradually released through small cracks.
- The valve activates even when the keg is 100% filled with liquid.
- Features a sturdy keg neck and threading that ensure optimal functionality.
Economy:
- 10% lower price compared to single-use plastic kegs.
- Competitive prices linked to the PET Keg Index.
- Exports still achieve a 10% savings in the first lifecycle.
✅ Step-by-Step Guide: Filling a FreeKeg (overview)
This guide shows how to fill a FreeKeg using its replaceable inner bag and compressed air. Follow each step carefully to ensure safe and proper filling.
🧰 What You’ll Need:
- A FreeKeg shell with a fresh inner bag installed
- Filling coupler (correct type for your keg: S or K-type)
- Compressed air supply with pressure gauge
- Product source (e.g., beverage tank)
- Air vent access
- Optional: bag installation tool (for bag replacement)
🛠 Before You Start: Set Up and Safety
- Visual inspection: Make sure the keg and overpressure valve are not damaged or blocked.
- Install new bag (if not already done):
-
- First, neutralize pressure (see Step 2).
- Use a tool to remove the used bag and insert a new one by tightening clockwise.
- Check max pressures:
-
- Filling pressure should not exceed 1.5 bar.
- Never exceed 3.5 bar for dispensing.
- Safety valve opens automatically at 8 bar.
🔄 Step 1: Neutralise Pressure (If Replacing the Bag)
- Use a coupler without hoses.
- Attach it to the keg’s head.
- Press the handle down to release the pressure (you’ll hear a hissing sound).
- Wait 5 minutes to ensure full depressurisation.
💨 Step 2: Add Counterpressure (Compressed Air)
- Connect your compressed air source (via air gun with gauge) to the CO₂ outlet on the coupler.
- Attach and engage the coupler.
- Fill the keg with air until pressure reaches 1.5 bar.
This stabilizes pressure around the bag, helping avoid foaming during filling.
🍺 Step 3: Fill the Keg with Beverage
- Connect the filling coupler to your tank.
- Attach the coupler to the FreeKeg and open the liquid valve fully.
- Wait ~20 seconds to allow flow to begin.
- Slowly open the air vent to 50% on the coupler and leave for 2–5 minutes.
- Then open the air vent on the coupler to 100% and continue filling.
✅ Stop filling when:
- The keg is full, or
- The desired weight or volume is reached.
- Close the liquid valve.
You may need to add top pressure to the tank containing the beverage to force it into the kegs as the level drops or use a pump.
🧪 Step 4: Check for Functionality
After filling, check:
- That the keg holds pressure at 1.5 bar for at least 24 hours (recommended test).
- For leaks or damage around the valve or bag.
- That the coupler is sealed properly.
🧼 Additional Notes:
- Always use a fresh bag—never reuse.
- Store filled kegs below 35°C and upright.
- Do not shake or roll the keg, especially when filled with carbonated products.
-
Additional information
Additional information
Weight (L) 20 K I 20 S I 30 K I 30 S
Stock Unit Each
Stock-to-base-ratio 1
Available In FreeKeg (20L K), FreeKeg (30L K), FreeKeg (20L S), FreeKeg (30L S)